Reproducing the Installation of MindSpore on macOS
Reproducing the Installation of MindSpore on macOS
June 17, 2022
This article is an attempt to reproduce the process of installing MindSpore on an incompatible macOS. MindSpore has been supported on macOS since March 2022 and the installation procedure is much easier now.
As a UNIX operating system, macOS has a built-in terminal. CentOS uses Yum for software installation, Ubuntu uses Advanced Package Tool (APT), and what about macOS? Well, the answer is Homebrew.
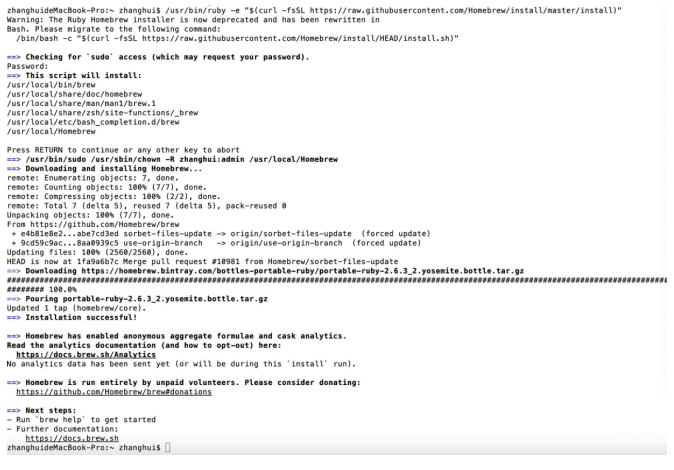
Run the following command:
/bin/bash -c "$(curl -fsSL https://raw.githubusercontent.com/Homebrew/install/master/install.sh)"
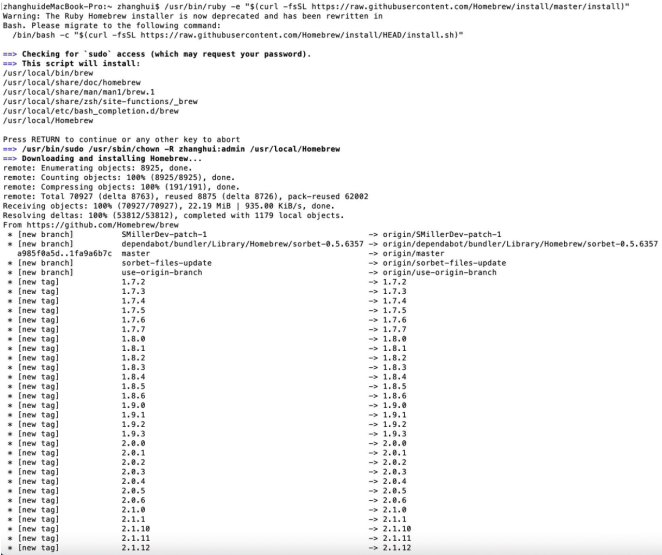
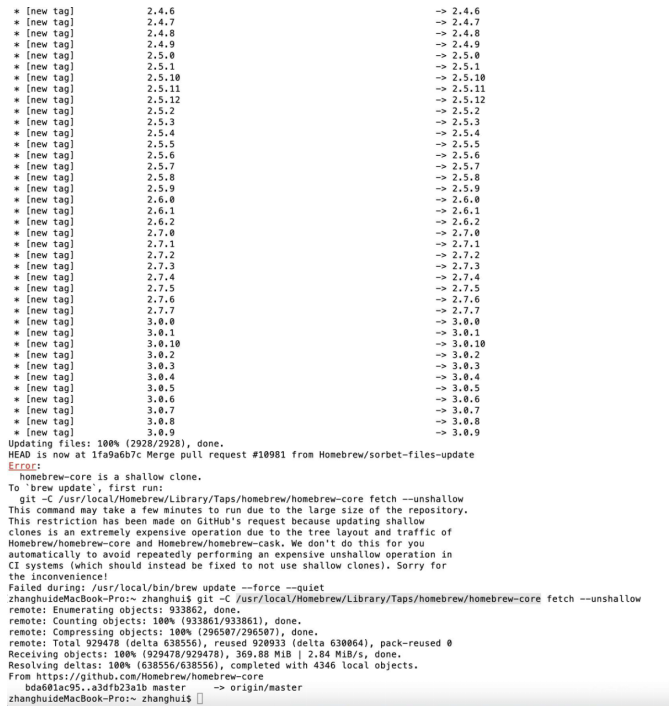
Homebrew has been installed.
Use Homebrew to install Python.
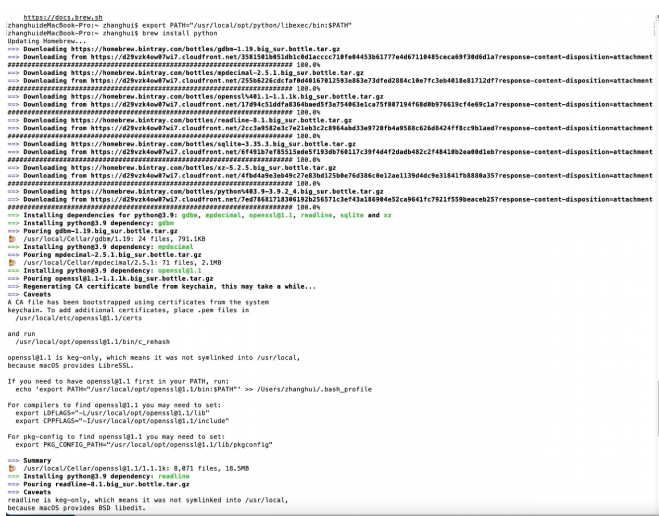
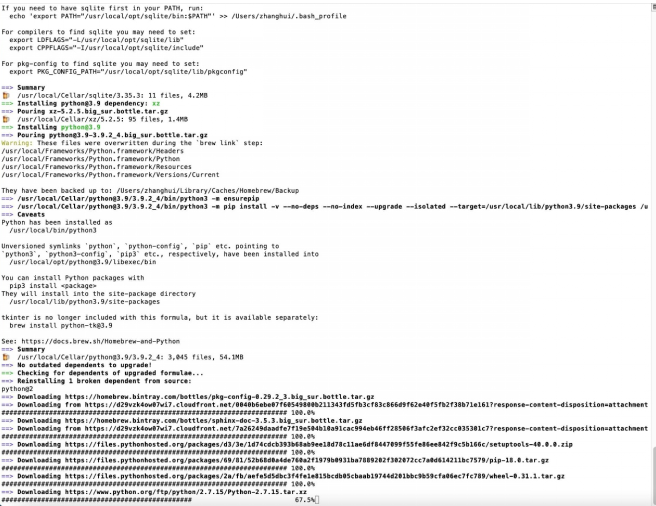
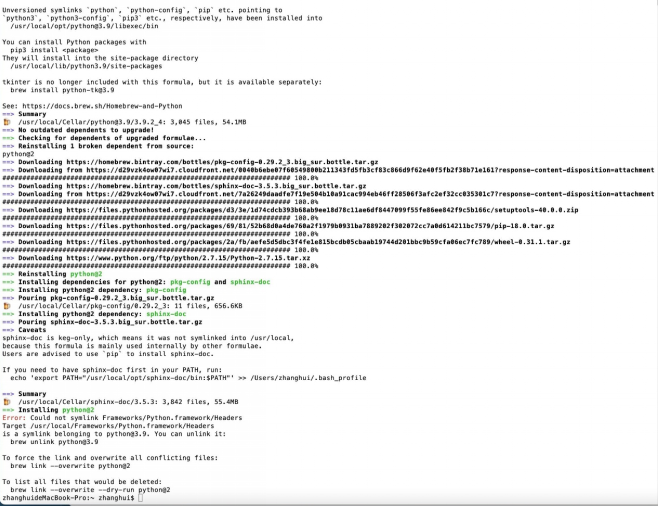
The output shows that Python 2.7.15 and Python 3.9 have been installed.
However, given that MindSpore is based on Python 3.7.5, we need to install Python 3.7.5 using the source code.
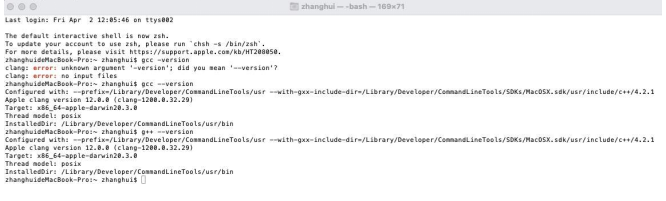
Download Xcode from the App Store. Xcode is Apple's integrated development environment (IDE) that integrates GCC, g++, and CMake required for installing software from source code on macOS.
Check that GCC, g++, and CMake are available.
Install Python 3.7.5 by referring to Python 3.7.5 Installation on Ubuntu.
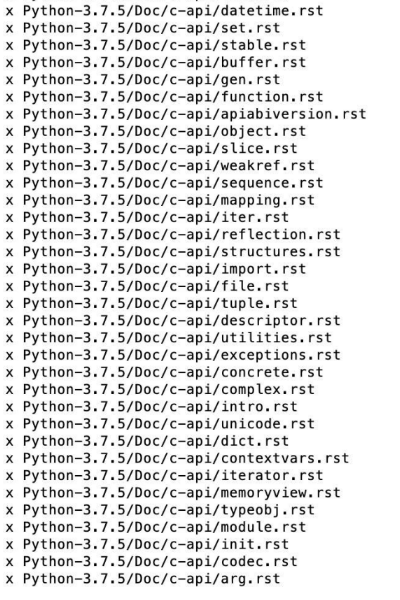
Download the Python installation package.

Decompress the package.
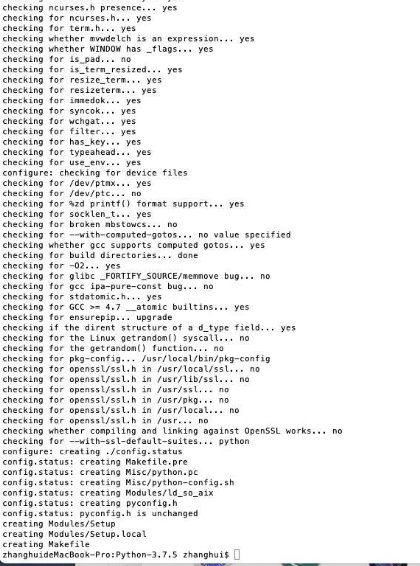
Configure Python 3.7.5 as follows:
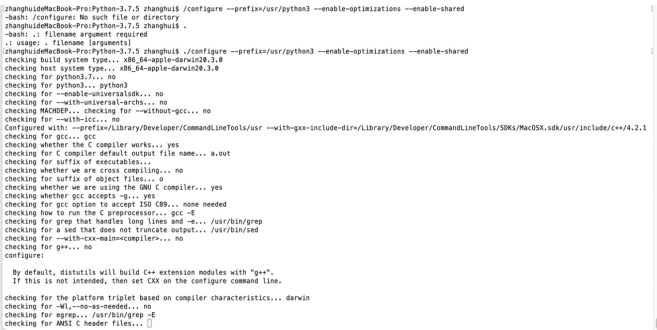
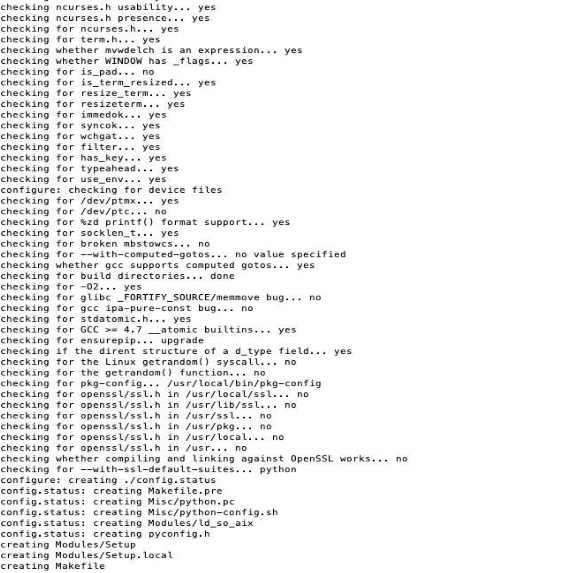
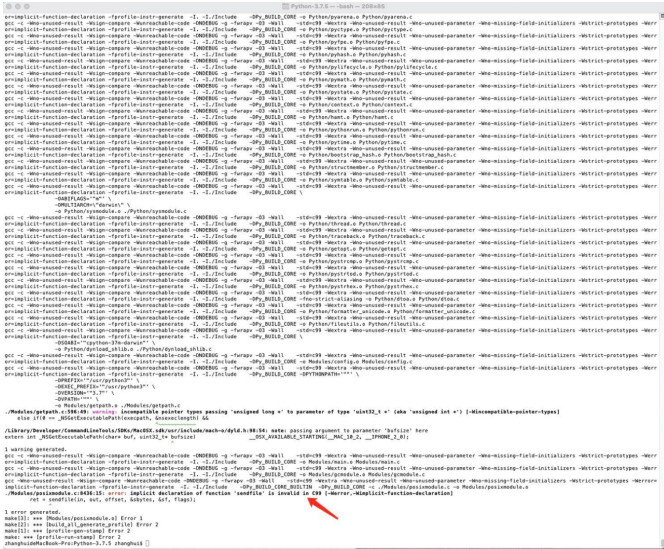
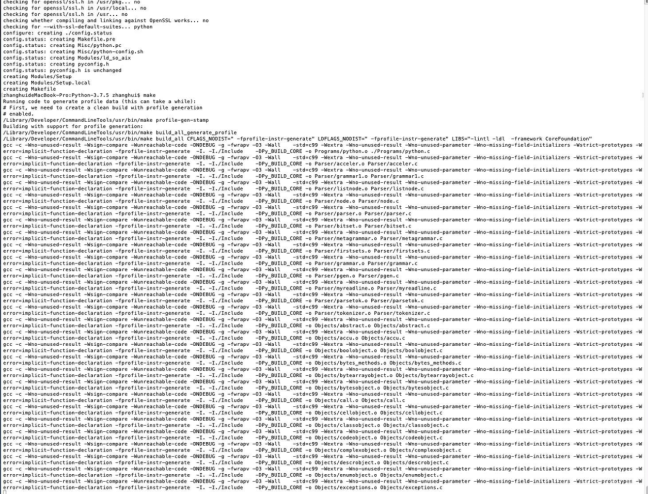
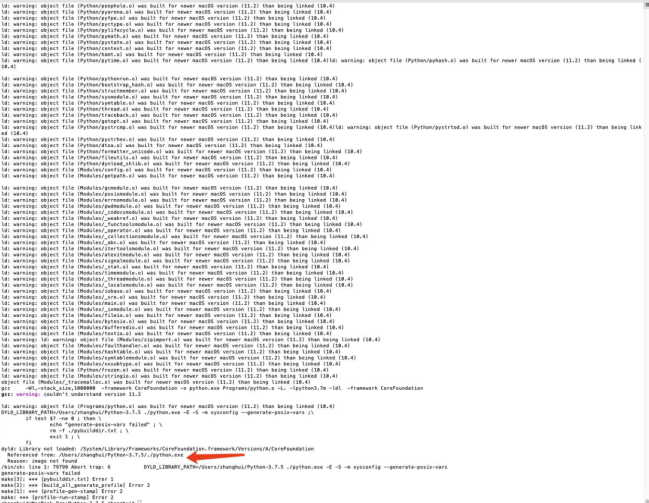
Run the make command.
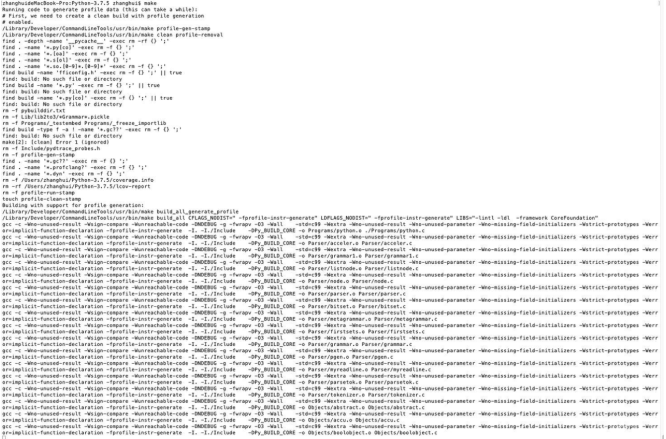
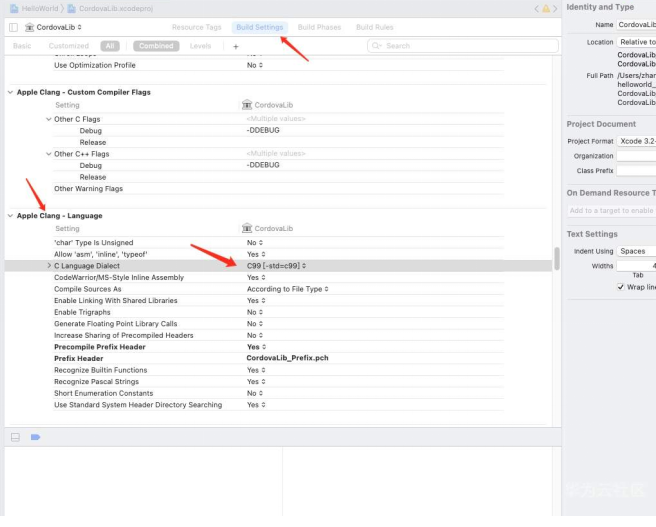
Oops, an error was reported during GCC check.
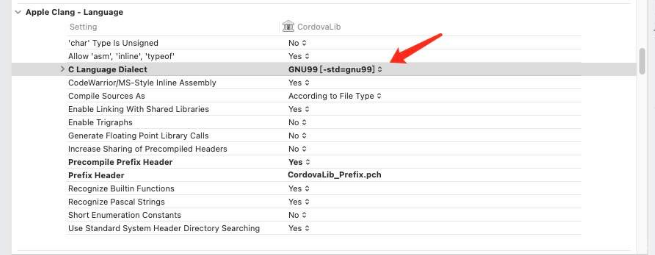
I tried to change the build option C99 to GNU99.
Before:
After:
Run the make clean command.
Run the make command.
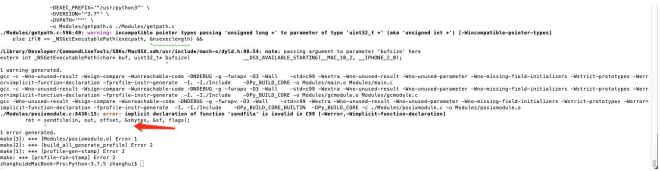
The error occurred again. It seemed that the build option change in Xcode did not take effect in the CLI.
Then I tried pyenv, a tool for managing multiple Python versions.
brew install pyenv
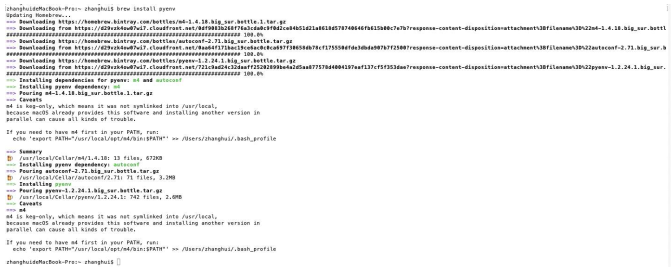
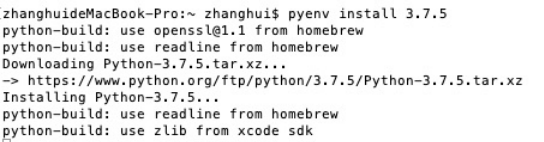
After pyenv is installed, use it to install Python 3.7.5.
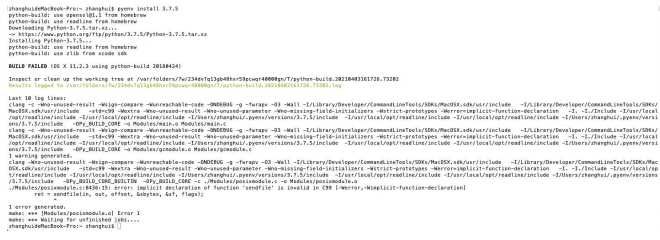
pyenv install 3.7.5
Unfortunately, the same error occurred again.
So I turned to use the CFLAGS environment variable.
CFLAGS="-I$(brew --prefix openssl)/include -I$(brew --prefix bzip2)/include -I$(brew --prefix readline)/include -I$(xcrun --show-sdk-path)/usr/include" LDFLAGS="-L$(brew --prefix openssl)/lib -L$(brew --prefix readline)/lib -L$(brew --prefix zlib)/lib -L$(brew --prefix bzip2)/lib" pyenv install --patch 3.7.5 < <(curl -sSL https://github.com/python/cpython/commit/8ea6353.patch\\?full\_index\\=1)

And this time no error was reported.
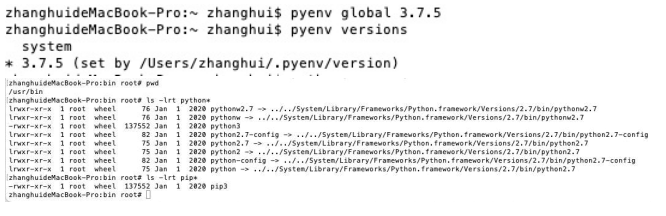
Set the Python path to point to /Users/zhanghui/.pyenv/versions/3.7.5/bin.
Python 3.7.5 has been installed.
Then I attempted to directly install MindSpore for Ubuntu on macOS.
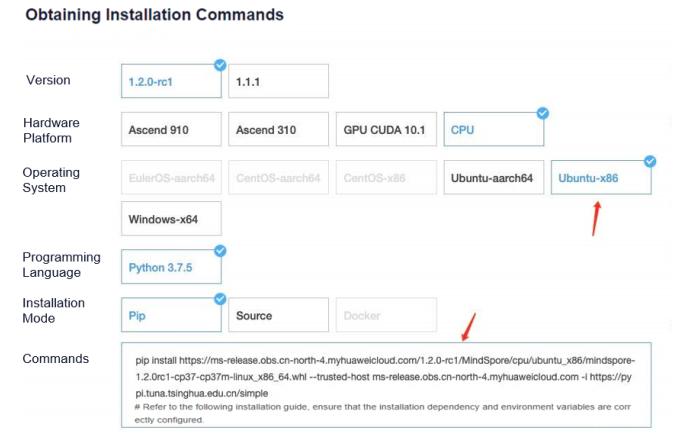
As expected, installation of both MindSpore 1.1.1 and 1.2.0-rc1 failed.

But how about installing PyTorch or TensorFlow on macOS?
First, modify the pip source in ~/.pip/pip.conf as follows:

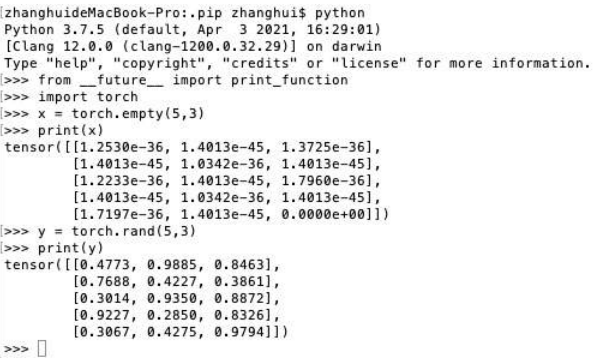
Run pip install torch torchvision.
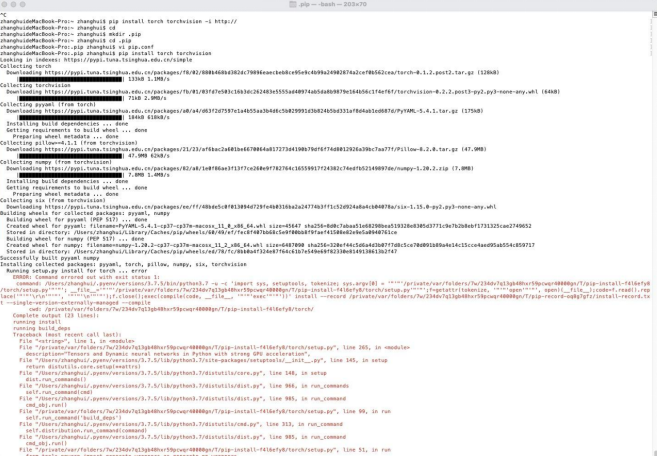
PyTorch has been installed.
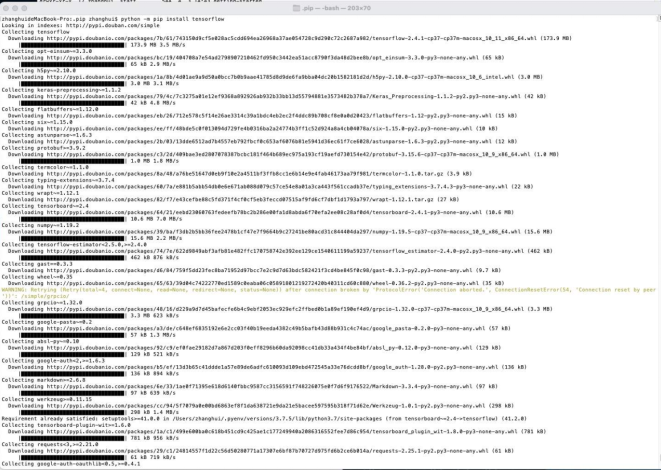
Then continue to install TensorFlow.
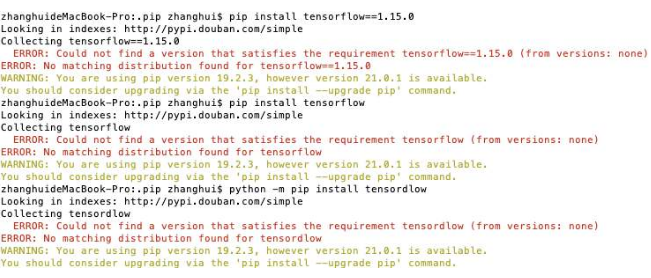
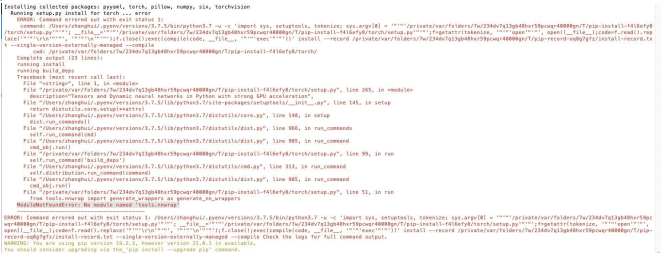
An error occurred.
To fix this, upgrade pip.

Install TensorFlow again.

Install PyTorch again.

After pip was upgraded to version 21.0, PyTorch 1.8.1 and TensorFlow 2.4.1 were both successfully installed.
Verify PyTorch.
Verify TensorFlow.


The predicted value is 31, which is very close.
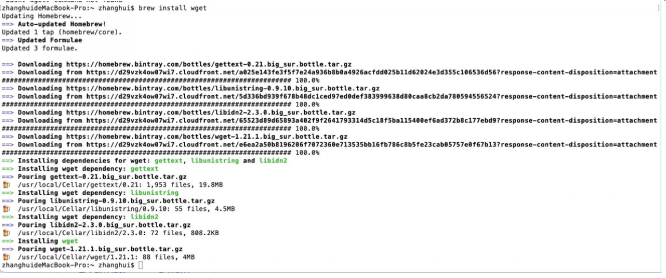
Install Wget.
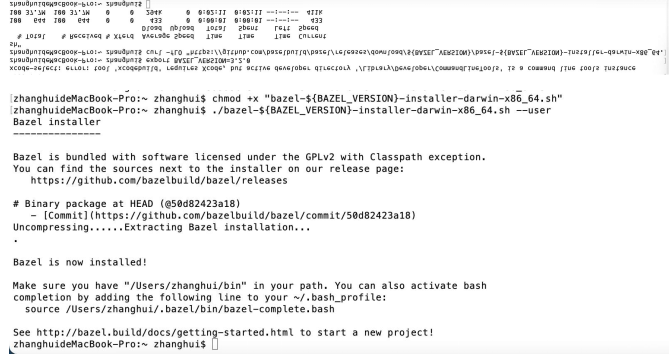
Install Bazel.
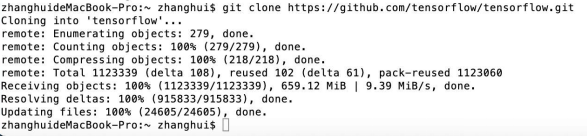
Clone the TensorFlow code repository.
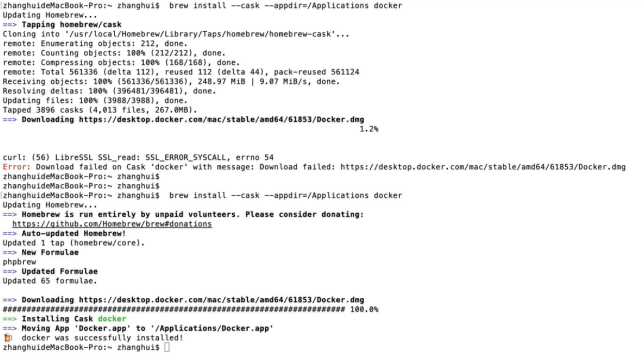
Install Docker.
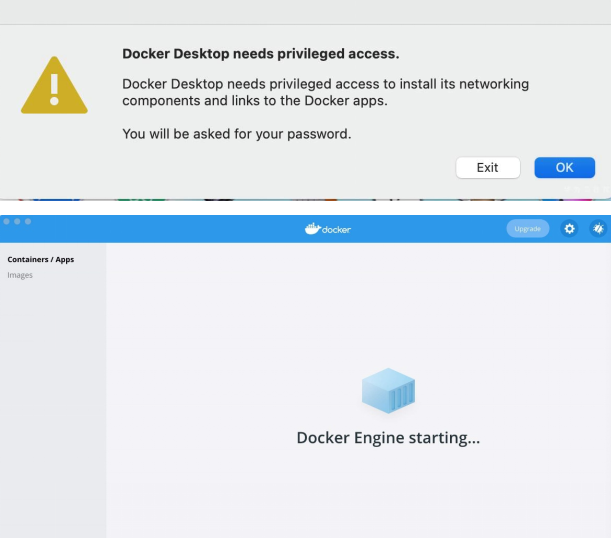
After the installation is complete, start Docker.
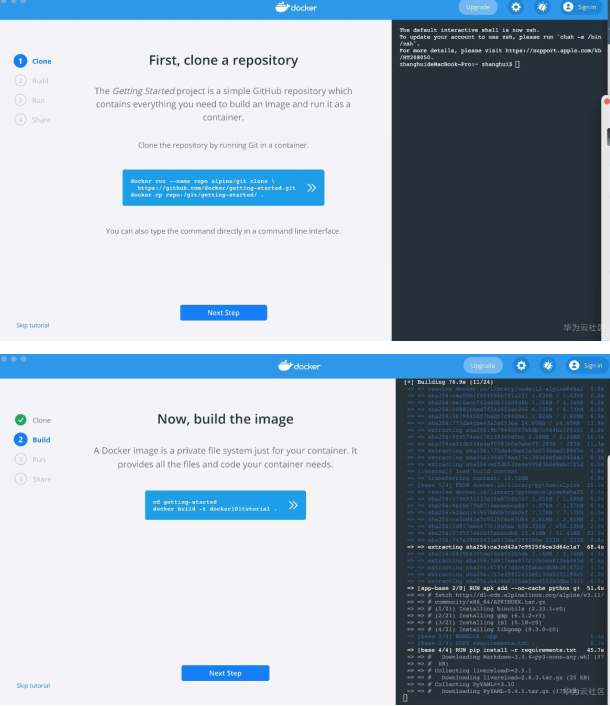
The following are some examples of using Docker.
Install virtualenv.
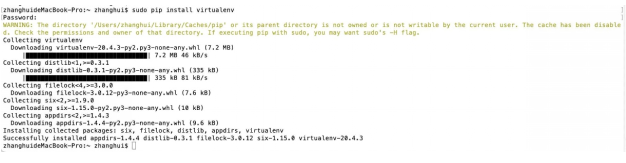
Install pyenv-virtualenv.

Similar to Conda, pyenv-virtualenv allows you to use Python 3.7.5 in different working environments, for example, PyTorch, TensorFlow1, and TensorFlow2.
Set the Docker image source.
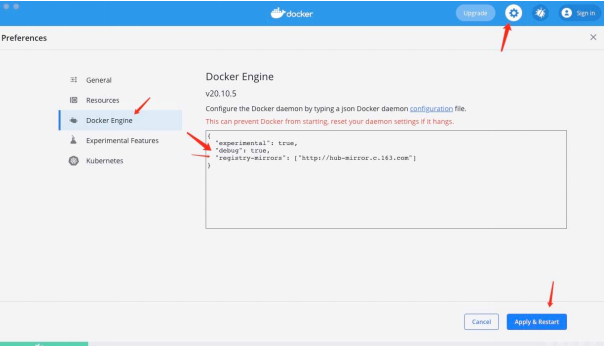
Click Apply & Restart to restart Docker.
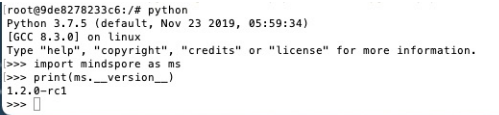
We can also install Python 3.7.5 by using Docker images.

Switch to the root user.

Install MindSpore 1.2.0-rc1 again.

Hooray! This time the installation succeeded.
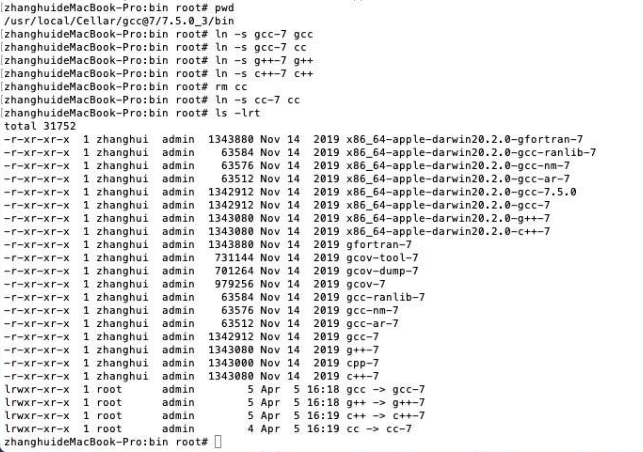
Run the brew install gcc@7 command.

GCC has been installed in /usr/local/Cellar/gcc@7/7.5.0_3.
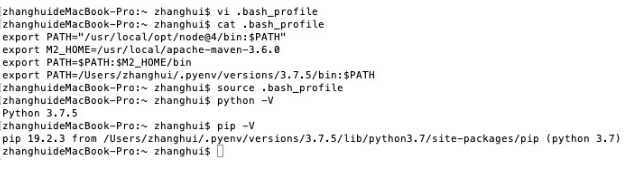
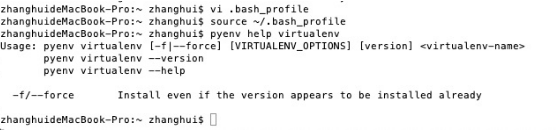
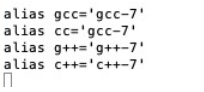
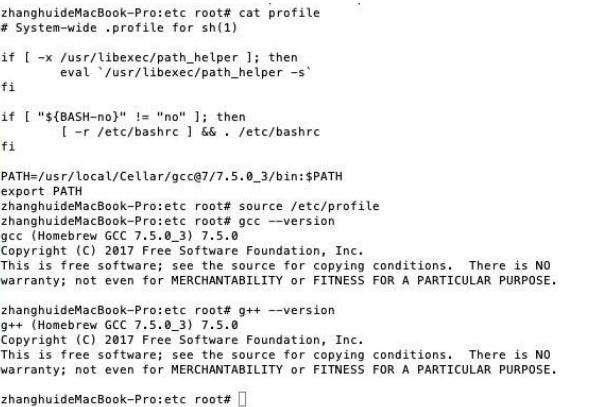
Add the following information to .bash_profile:
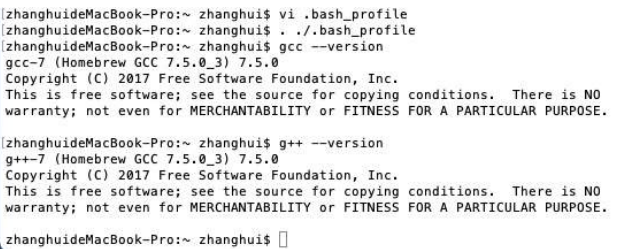
Run the ./.bash_profile command.
The output shows that both GCC 7.5.0 and g++ 7.5.0 have been installed.
Go to the directory of Python 3.7.5.
Run the make clean command.

Run the ./configure --prefix=/Users/zhanghui/python3 --enable-optimizations --enable-shared command.
Run the make command.
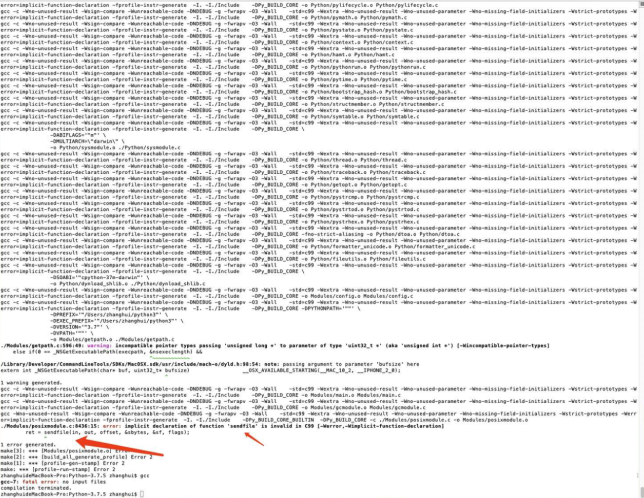
Again, the same error.
Switch to the root user.

Run the cc --version command.

Go to /usr/local/Cellar/gcc@7/7.5.0_3.
Set /etc/profile to preferentially point to /usr/local/Cellar/gcc@7/7.5.0_3/bin.
Run the brew install cmake command.

Run the cmake --version command to view the CMake version.
Run the following commands in sequence.
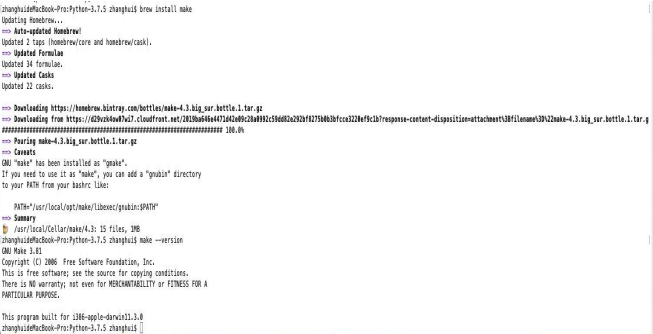
brew install make
make --version
An EXE file is generated.
Run the following command to install MindSpore dependencies.
python -m pip install protobuf asttokens scipy easydict sympy cffi wheel decorator setuptools matplotlib sklearn pandas bs4 astunparse packaging -i http://pypi.douban.com/simple
To sum up, firstly I tried to directly install MindSpore on a macOS terminal, but the MindSpore installation package could not even be compiled due to quite different syntax rules of GCC. Then I tried PyTorch and TensorFlow. Both of them can be installed on macOS. Later I installed Docker on macOS, used it to pull the MindSpore image, and again tried to install MindSpore (CPU version only). This time the installation succeeded.
Gladly, MindSpore is now supported on macOS and can be directly installed without such troublesome operations any longer.